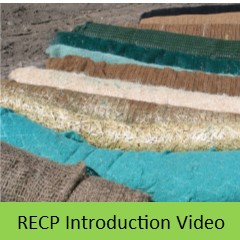
Erosion Control Products Installation VideosECTC has produced videos with step-by-step instructions for installing hydraulic erosion control products, rolled erosion control products and sediment retention fiber rolls. Rolled Erosion Control Products (RECPs) are often referred to as erosion blankets. There are four videos in this series. One is an introduction to RECP installation and then three application specific videos. RECPs are broken into two categories; temporary erosion control products and turf reinforcement mats. The temporary products are designed to control erosion until permanent vegetation can be established. The turf reinforcement mats (TRMs) are permanent products designed to support the root structure of the natural vegetation. RECP Introduction Video / EnglishIntroducción RECP Video / Español
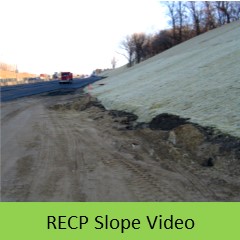
RECP Slope Video / EnglishVídeo de pendiente RECP / Español
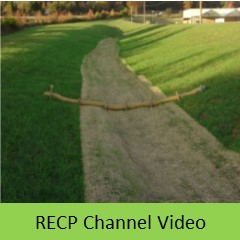
RECP Channel Video / EnglishVídeo del canal RECP / Español
RECP Shoreline Video / EnglishVídeo de costa RECP / Español
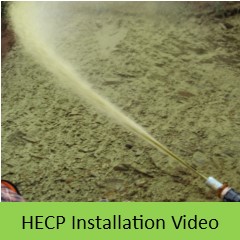
Hydraulic Erosion Control Products (HECPs) are also known as hydromulch. This video will give the user guidelines for hydraulic mulch installation on slopes. Hydraulic erosion control products can be used in hear to reach locations and uneven subgrade conditions. HECP Installation Video / EnglishVídeo de instalación de HECP / EspañolSediment Retention Fiber Rolls (SRFRs) are typically referred to as wattles or fiber rolls. This video covers installation techniques for the proper installation of SRFRs. SRFRs are used to interrupt water flow down a slope face. This effectively shortens the length of the slope. The wattle can be used to pond water behind it and allow the water to slowly flow through it. SRFRs are often used in conjunction with RECPs or HECPs. These products can filter out some sediment and trap it inside the fiber roll. SRFR Installation Video / EnglishVídeo de instalación de SRFR / Español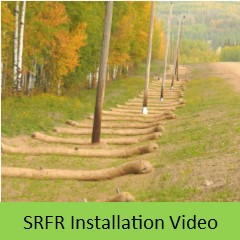
ECTC has produced these videos as a general guideline. Users should contact the manufacturer of the products for product-specific installation directions. |
